
When you're looking to enhance your cookie decorating skills, knowing the right royal icing recipes can make all the difference. You'll find that each method offers unique benefits, whether you want a classic finish or something with a twist. From the reliable classic royal icing to cutting-edge vegan options, there's a recipe for every preference. Plus, if you're in a rush, the quick-dry technique is a game changer. Curious about which recipe might best suit your next baking project? Let's investigate these top five options together.
Classic Royal Icing Recipe
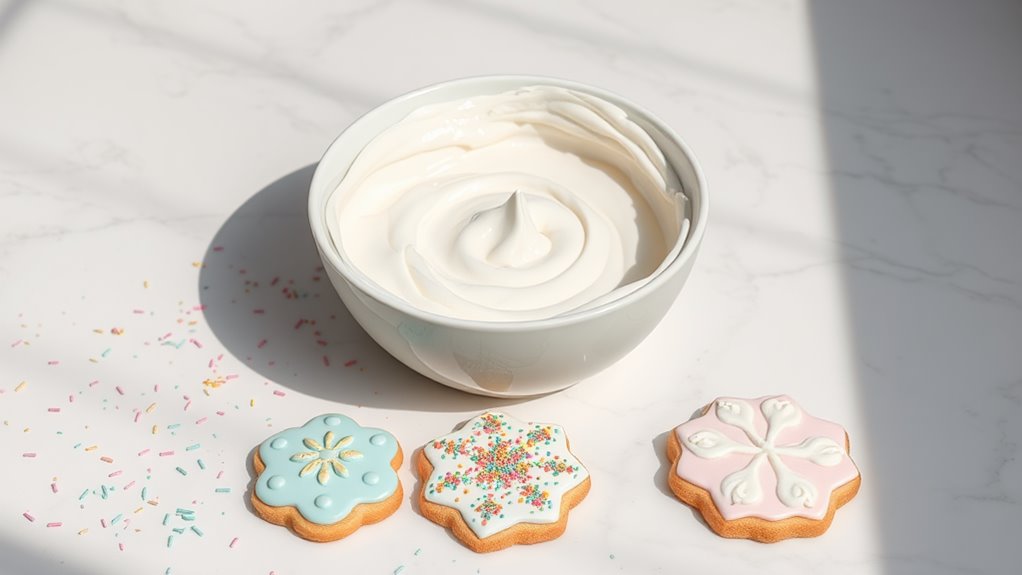
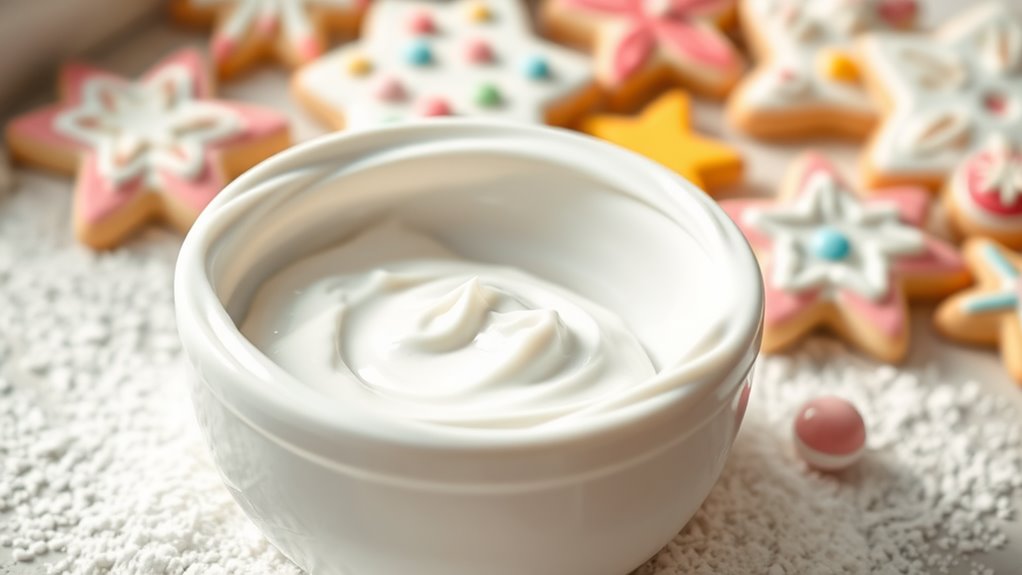
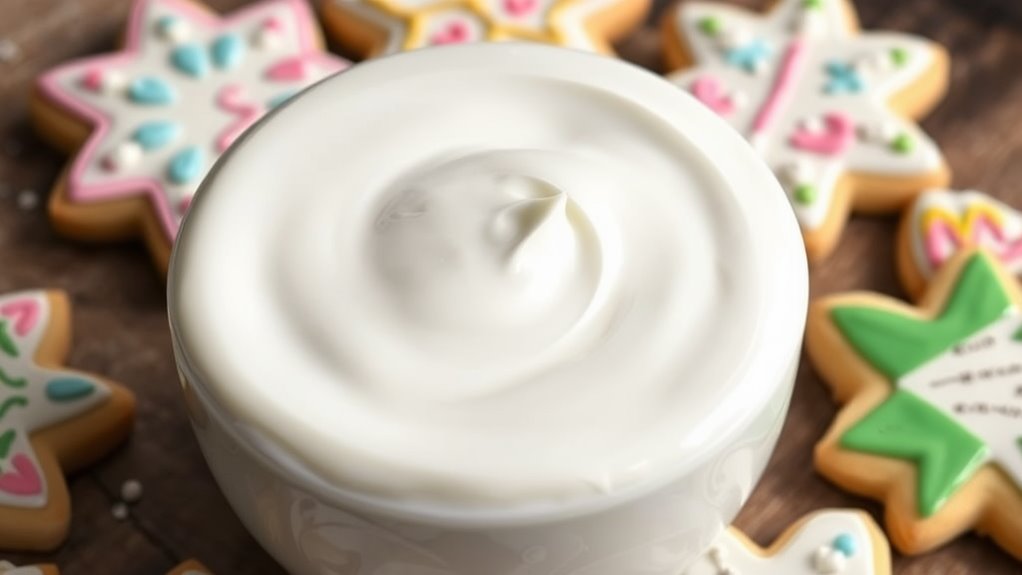
Classic royal icing is a staple in the world of baking, particularly for decorating cookies and other confections. Its smooth, glossy finish makes it perfect for creating complex designs, piping borders, and even flooding techniques.
This simple yet versatile icing sets firm upon drying, allowing for detailed decorations that hold their shape. Whether you're preparing for a festive occasion or just want to add a special touch to your baked goods, this classic royal icing recipe is sure to impress.
Ingredients:
- 4 cups powdered sugar
- 3 large egg whites (or 5 tablespoons meringue powder)
- 1 teaspoon vanilla extract (optional)
- 1/2 teaspoon lemon juice (optional)
- Food coloring (optional)
Instructions:
In a large mixing bowl, combine the powdered sugar and egg whites (or meringue powder) until the mixture is smooth.
Use an electric mixer on medium speed to beat the ingredients together for about 5-7 minutes, or until the icing forms stiff peaks. If desired, add vanilla extract and lemon juice for flavor, and mix until fully incorporated.
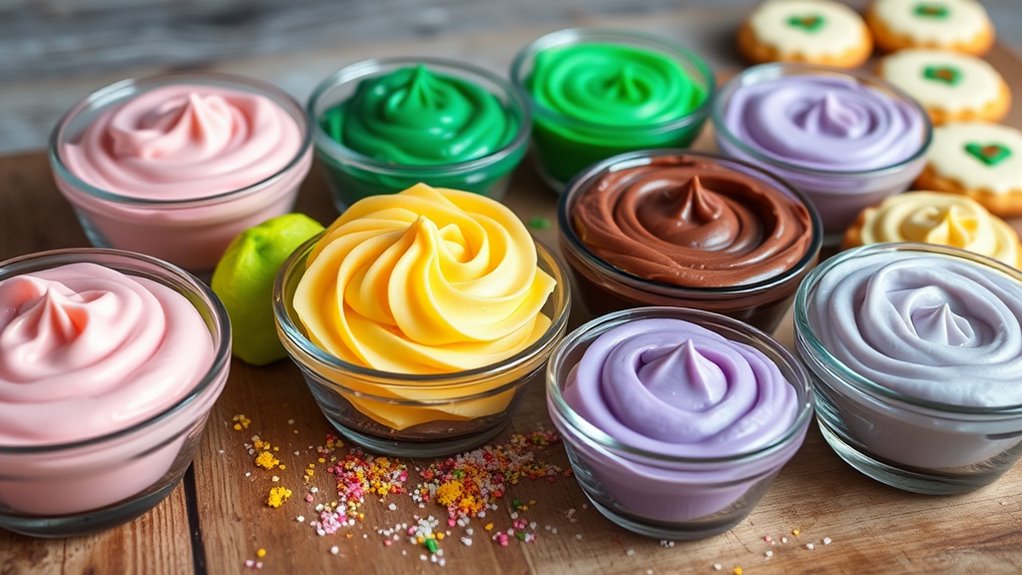
If you want to color your icing, divide it into smaller bowls and add food coloring a few drops at a time, mixing until you achieve your desired shade. Once finished, use the icing immediately or cover it with a damp cloth to prevent it from drying out.
Extra Tips:
To achieve the perfect consistency for your royal icing, adjust the thickness according to your decorating needs. For outlining, aim for a thicker consistency, while flooding will require a slightly thinner icing.
If the icing becomes too runny, simply add more powdered sugar to thicken it. Always make sure your tools and surfaces are clean and free of grease, as this can affect the icing's ability to set properly.
Finally, let your decorated cookies dry completely—this can take several hours or overnight, depending on the humidity and thickness of the icing.
Flavored Royal Icing Variations
Flavored royal icing can enhance your cookie decorating game by adding delightful taste dimensions to your creations. While traditional royal icing is typically made with egg whites or meringue powder and powdered sugar, incorporating flavors can make your treats even more enjoyable.
Whether you're aiming for a citrusy zing, a hint of vanilla, or a touch of almond, this recipe will guide you through the process of crafting a deliciously flavored royal icing that holds its shape while adding that extra burst of flavor to your cookies.
Ingredients:
- 4 cups powdered sugar
- 3 tablespoons meringue powder
- 6 tablespoons water (adjust as necessary)
- 1 teaspoon vanilla extract (or any flavor extract of your choice)
- Food coloring (optional)
Instructions:
In a large mixing bowl, combine the powdered sugar and meringue powder. Gradually add the water while mixing on low speed until the ingredients are well combined and smooth.
Increase the mixer speed to medium and beat for about 5-7 minutes until the icing reaches a glossy, stiff peak consistency. Once the base is ready, add your chosen flavor extract and any food coloring, mixing until evenly incorporated.
Adjust the water as needed to achieve your desired consistency for piping or flooding.
Extra Tips:
When using flavored extracts, be cautious not to overdo it, as too much liquid can alter the icing's consistency. Start with a small amount and taste as you go.
If you want to achieve different colors for your royal icing, divide the icing into separate bowls before adding food coloring. Remember to store any leftover icing in an airtight container to prevent it from drying out.
If the icing becomes too thick while decorating, simply add a few drops of water to loosen it up.
Egg White Royal Icing
Egg white royal icing is a classic choice for decorating cookies, cakes, and other confections. This icing is known for its glossy finish and ability to hold complex designs, making it a favorite among bakers and decorators alike.
With just a few simple ingredients, you can whip up a batch of this versatile icing that dries hard and can be easily colored or flavored to suit your needs.
Ingredients:
- 2 large egg whites
- 4 cups powdered sugar, sifted
- 1 teaspoon lemon juice or vinegar
- Optional: food coloring
Instructions:
In a large mixing bowl, beat the egg whites until they become frothy. Gradually add the sifted powdered sugar, mixing on low speed until well combined.
Once incorporated, add the lemon juice or vinegar, and continue to mix on medium speed for about 5-7 minutes, or until the icing reaches a stiff peak consistency.
If desired, divide the icing into separate bowls and tint with food coloring to achieve your preferred shades. Use immediately or store in an airtight container until ready to use.
Extra Tips:
When working with egg white royal icing, it's important to verify that all your utensils and bowls are completely clean and free of any grease, as this can affect the icing's ability to hold its shape.
If you're concerned about using raw egg whites, consider using pasteurized egg whites or a powdered egg white substitute.
Additionally, if the icing becomes too thick while decorating, you can add a few drops of water to reach the desired consistency.
Finally, remember to cover any unused icing with a damp cloth to prevent it from drying out while you work.
Vegan Royal Icing Option
Vegan royal icing is a fantastic alternative for those who prefer a plant-based diet or are looking to avoid egg whites. This icing is perfect for decorating cookies, cakes, and other sweet treats, offering a glossy finish and a firm hold without the use of animal products. The secret ingredient in this recipe is aquafaba, the liquid from canned chickpeas, which mimics the consistency of egg whites, allowing for a smooth and spreadable icing that dries hard.
Ingredients:
- 1/2 cup aquafaba (the liquid from canned chickpeas)
- 1 teaspoon lemon juice
- 4 cups powdered sugar
- 1/2 teaspoon vanilla extract (optional)
- Food coloring (optional)
Instructions:
In a large mixing bowl, combine the aquafaba and lemon juice, and beat them together using an electric mixer on medium speed until frothy.
Gradually add the powdered sugar, one cup at a time, mixing thoroughly to avoid lumps.
Continue to beat the mixture on high speed for about 5-7 minutes until stiff peaks form, similar to traditional royal icing.
If you want to add flavor, incorporate the vanilla extract and mix until well combined.
If desired, divide the icing into smaller bowls and add food coloring to create your favorite shades for decorating.
Extra Tips:
To achieve the best results, make sure your aquafaba is at room temperature for ideal whipping.
Keep in mind that the consistency of the royal icing can be adjusted by adding more powdered sugar for a thicker icing or a little water for a thinner consistency, depending on your decorating needs.
When using food coloring, gel colors tend to work best as they don't alter the icing's consistency as much as liquid colors can.
Finally, store any leftover icing in an airtight container to prevent it from drying out and use it within a few days.
Quick-Dry Royal Icing Technique

Quick-Dry Royal Icing is perfect for those who want to create beautifully decorated cookies without waiting too long for the icing to set. This technique utilizes a combination of ingredients that not only give your icing a smooth finish but also help it dry quickly, making it ideal for time-sensitive baking projects like parties or holidays.
With this recipe, you can create stunning designs that hold their shape and color, allowing your creativity to shine.
Ingredients:
- 4 cups powdered sugar
- 3 tablespoons meringue powder
- 6 tablespoons water (adjust for desired consistency)
- 1 teaspoon vanilla extract (optional)
- Food coloring (optional)
Instructions:
In a large mixing bowl, combine the powdered sugar and meringue powder. Gradually add the water while mixing on low speed until the ingredients are fully incorporated.
Increase the speed to medium and whip the icing for about 5-7 minutes until it becomes thick and glossy. If desired, add vanilla extract for flavor and mix until combined.
For coloring, separate the icing into smaller bowls and add food coloring as needed. Once your icing is ready, transfer it to piping bags or squeeze bottles for easy application.
Extra Tips:
To achieve the best results with Quick-Dry Royal Icing, confirm that your mixing bowl and utensils are completely clean and dry, as any grease can affect the icing's ability to set.
If you need to adjust the icing's thickness, add water sparingly for a runnier consistency or more powdered sugar for a thicker one.
When decorating, use a toothpick to create complex details or smooth out any imperfections. To speed up drying time, consider placing your decorated cookies in a cool, dry area or using a fan to circulate air around them.