
Are you ready to whip up some of the best cakes ever? We're talking about chocolate that makes your taste buds dance, a vanilla bean layer cake that's as light as a cloud, and a red velvet cake that's perfect for any celebration. But wait, there's more! You'll also want to try a zesty lemon drizzle cake and a spiced carrot cake that's sure to impress. Trust me, you'll want to stick around for these delicious recipes!
Classic Chocolate Cake
Classic Chocolate Cake is a timeless dessert that never fails to impress. Perfect for birthdays, celebrations, or simply satisfying a sweet tooth, this moist and rich cake is layered with a luscious chocolate frosting that complements its deep flavor.
With simple ingredients and straightforward steps, you can whip up this delightful treat in no time. Whether you're a seasoned baker or a novice in the kitchen, this recipe will guide you to create a delicious chocolate cake that will have everyone asking for seconds.
Ingredients:
- 1 ¾ cups all-purpose flour
- 1 ¾ cups granulated sugar
- ¾ cup unsweetened cocoa powder
- 1 ½ teaspoons baking powder
- 1 ½ teaspoons baking soda
- 1 teaspoon salt
- 2 large eggs
- 1 cup whole milk
- ½ cup vegetable oil
- 2 teaspoons vanilla extract
- 1 cup boiling water
Instructions:
Preheat your oven to 350°F (175°C) and grease two 9-inch round cake pans.
In a large mixing bowl, combine the flour, sugar, cocoa powder, baking powder, baking soda, and salt. Mix well.
Add the eggs, milk, oil, and vanilla to the dry ingredients and beat on medium speed for about 2 minutes.
Stir in the boiling water (the batter will be thin) and pour evenly into the prepared pans.
Bake for 30-35 minutes or until a toothpick inserted in the center comes out clean.
Allow the cakes to cool in the pans for 10 minutes before transferring them to a wire rack to cool completely.
Extra Tips:
For an even richer flavor, consider adding a teaspoon of espresso powder to the dry ingredients to amplify the chocolate taste.
If you want to make this cake ahead of time, you can wrap the cooled cakes in plastic wrap and store them in the refrigerator for up to three days or freeze for up to a month.
When frosting, allow the cake to cool completely to prevent the frosting from melting.
Finally, feel free to get creative with your toppings – fresh berries, chocolate shavings, or a drizzle of caramel can take your classic chocolate cake to the next level!
Vanilla Bean Layer Cake
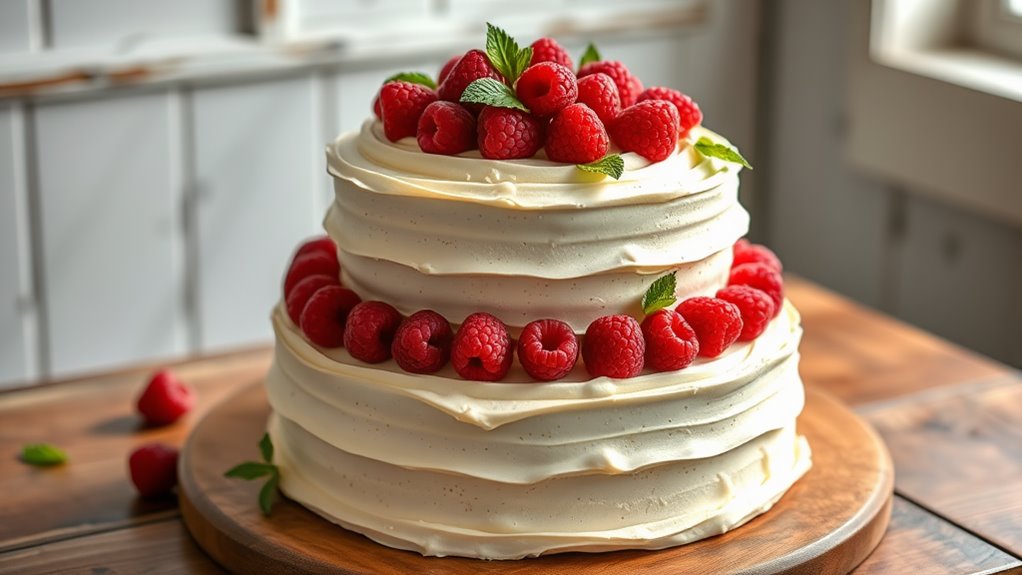
Vanilla Bean Layer Cake is a classic dessert that brings a touch of elegance to any celebration. With its light and fluffy texture, complemented by the rich flavor of vanilla beans, this cake is perfect for birthdays, weddings, or even just a special treat for yourself.
The layers can be filled and frosted with a simple vanilla buttercream, making it not only delicious but also visually appealing. Let's explore the ingredients and steps to create this delightful cake.
Ingredients:
- 2 ¾ cups all-purpose flour
- 2 ½ teaspoons baking powder
- ½ teaspoon salt
- 1 cup unsalted butter, softened
- 2 cups granulated sugar
- 4 large eggs
- 1 tablespoon vanilla extract
- 1 vanilla bean, seeds scraped
- 1 cup whole milk
Instructions:
Preheat your oven to 350°F (175°C) and grease and flour three 8-inch round cake pans.
In a medium bowl, whisk together the flour, baking powder, and salt. In a large mixing bowl, cream the softened butter and sugar together until light and fluffy.
Add the eggs one at a time, mixing well after each addition. Then, mix in the vanilla extract and the scraped seeds from the vanilla bean.
Gradually add the dry ingredients to the wet mixture, alternating with the whole milk, beginning and ending with the flour mixture.
Once the batter is smooth, evenly distribute it into the prepared cake pans. Bake for 25-30 minutes or until a toothpick inserted in the center comes out clean.
Let the cakes cool in the pans for 10 minutes, then transfer them to wire racks to cool completely.
Extra Tips:
For the best flavor, use high-quality vanilla beans and pure vanilla extract.
Make sure to let the cakes cool completely before frosting to prevent the buttercream from melting.
If you prefer a more decadent treat, consider adding a layer of fruit preserves or whipped cream between the layers.
To achieve a smoother finish on your buttercream, allow it to come to room temperature before spreading it on the cake.
Enjoy your Vanilla Bean Layer Cake, and don't forget to share it with friends and family!
Red Velvet Cake
Red Velvet Cake is a classic dessert that perfectly balances rich flavors and vibrant color, making it a favorite for celebrations and gatherings.
This cake features a moist and tender texture, complemented by a luscious cream cheese frosting that adds a tangy sweetness. Whether you're baking for a special occasion or just to satisfy your sweet tooth, this Red Velvet Cake is sure to impress with its stunning appearance and delightful taste.
Ingredients:
- 2 ½ cups all-purpose flour
- 1 ½ cups granulated sugar
- 1 teaspoon baking soda
- 1 teaspoon salt
- 1 teaspoon cocoa powder
- 1 ½ cups vegetable oil
- 1 cup buttermilk, room temperature
- 2 large eggs, room temperature
- 2 tablespoons red food coloring
- 1 teaspoon vanilla extract
- 1 teaspoon white vinegar
Instructions:
Preheat your oven to 350°F (175°C) and grease two 9-inch round cake pans.
In a large mixing bowl, sift together the flour, sugar, baking soda, salt, and cocoa powder.
In another bowl, whisk together the oil, buttermilk, eggs, red food coloring, vanilla extract, and vinegar until well combined.
Gradually add the wet ingredients to the dry ingredients, mixing until just combined and smooth.
Divide the batter evenly between the prepared cake pans and bake for 25-30 minutes, or until a toothpick inserted into the center comes out clean.
Once baked, allow the cakes to cool in the pans for about 10 minutes before transferring them to wire racks to cool completely.
Extra Tips:
For the best results, make sure all your ingredients are at room temperature before you start mixing.
This will help create an even batter and improve the cake's texture.
If you want a deeper red color, feel free to add a little more food coloring, but be cautious not to overpower the flavor.
Additionally, consider using a cream cheese frosting for the classic pairing, and let the cake sit for a few hours after frosting to allow the flavors to meld together for a more delicious taste.
Enjoy your baking!
Lemon Drizzle Cake
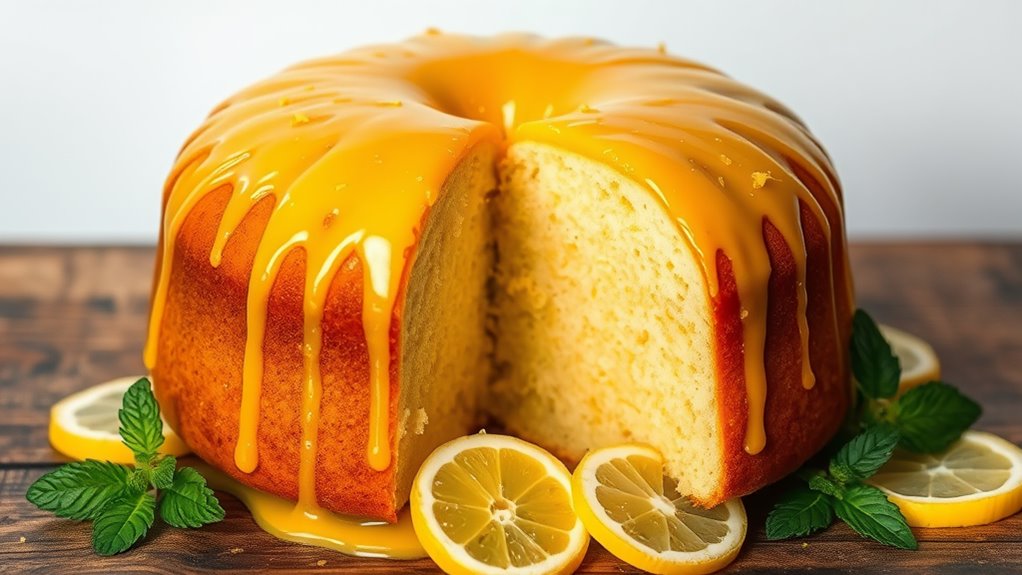
Lemon drizzle cake is a delightful and zesty dessert that's perfect for any occasion, whether it's a spring gathering or a cozy afternoon tea.
The combination of tangy lemon and sweet drizzle creates a revitalizing flavor that's sure to please any palate. This cake isn't only simple to make, but it also brings a bright and cheerful touch to your dessert table.
Ingredients:
- 225g unsalted butter, softened
- 225g granulated sugar
- 4 large eggs
- Zest of 2 lemons
- 225g all-purpose flour
- 2 tsp baking powder
- Pinch of salt
- 100ml milk
- Juice of 2 lemons
- 150g powdered sugar
Instructions:
Preheat your oven to 180°C (350°F) and grease a loaf tin.
In a large mixing bowl, cream together the softened butter and granulated sugar until light and fluffy. Beat in the eggs, one at a time, adding the lemon zest after the last egg.
In another bowl, whisk together the flour, baking powder, and salt. Gradually add the dry ingredients to the wet mixture, alternating with the milk until fully combined.
Pour the batter into the prepared loaf tin and smooth out the top. Bake for 45-50 minutes or until a skewer inserted into the center comes out clean.
While the cake is baking, prepare the lemon drizzle by mixing the lemon juice with powdered sugar until smooth.
Once the cake is out of the oven, poke holes all over the top with a skewer and pour the lemon drizzle over it while it's still warm.
Allow the cake to cool in the tin for 10 minutes, then transfer it to a wire rack to cool completely.
Extra Tips:
For an extra burst of flavor, consider adding a teaspoon of vanilla extract to the batter.
Always verify your ingredients are at room temperature for better mixing and texture.
If you want a more intense lemon flavor, you can increase the amount of lemon zest and juice in the drizzle.
Store the cake in an airtight container at room temperature for up to three days, or freeze slices for later enjoyment.
Enjoy your delicious lemon drizzle cake!
Carrot Cake With Cream Cheese Frosting
Carrot Cake with Cream Cheese Frosting is a delightful dessert that combines the natural sweetness of carrots with warm spices, creating a moist and flavorful cake that's perfect for any occasion.
Topped with a rich and creamy cream cheese frosting, this cake isn't only delicious but also visually appealing, making it a favorite for celebrations or casual get-togethers.
Whether you're a seasoned baker or a novice in the kitchen, this recipe is easy to follow and guarantees a scrumptious result that will impress your family and friends.
Ingredients:
- 2 cups all-purpose flour
- 2 cups granulated sugar
- 1 teaspoon baking powder
- 1 teaspoon baking soda
- 1 teaspoon ground cinnamon
- ½ teaspoon ground nutmeg
- ½ teaspoon salt
- 1 cup vegetable oil
- 4 large eggs
- 3 cups grated carrots
- 1 cup crushed pineapple, drained
- 1 cup chopped walnuts or pecans (optional)
Instructions:
Preheat your oven to 350°F (175°C) and grease two 9-inch round cake pans.
In a large mixing bowl, whisk together the flour, sugar, baking powder, baking soda, cinnamon, nutmeg, and salt.
In a separate bowl, mix the vegetable oil, eggs, grated carrots, and crushed pineapple until well combined.
Gradually add the wet ingredients to the dry ingredients and stir until just combined.
If desired, fold in the chopped nuts.
Divide the batter evenly between the prepared cake pans and bake for 25-30 minutes, or until a toothpick inserted into the center comes out clean.
Allow the cakes to cool in the pans for 10 minutes, then transfer them to wire racks to cool completely.
Extra Tips:
For an extra layer of flavor, consider adding a teaspoon of vanilla extract to the batter.
Be sure to measure your grated carrots accurately; too much moisture can affect the cake's texture.
When making the cream cheese frosting, verify that the cream cheese is softened to room temperature for a smooth consistency.
If you want to make the cake ahead of time, it can be stored in the refrigerator for a few days or frozen for longer storage—just make sure to frost it right before serving for the best taste and texture!